
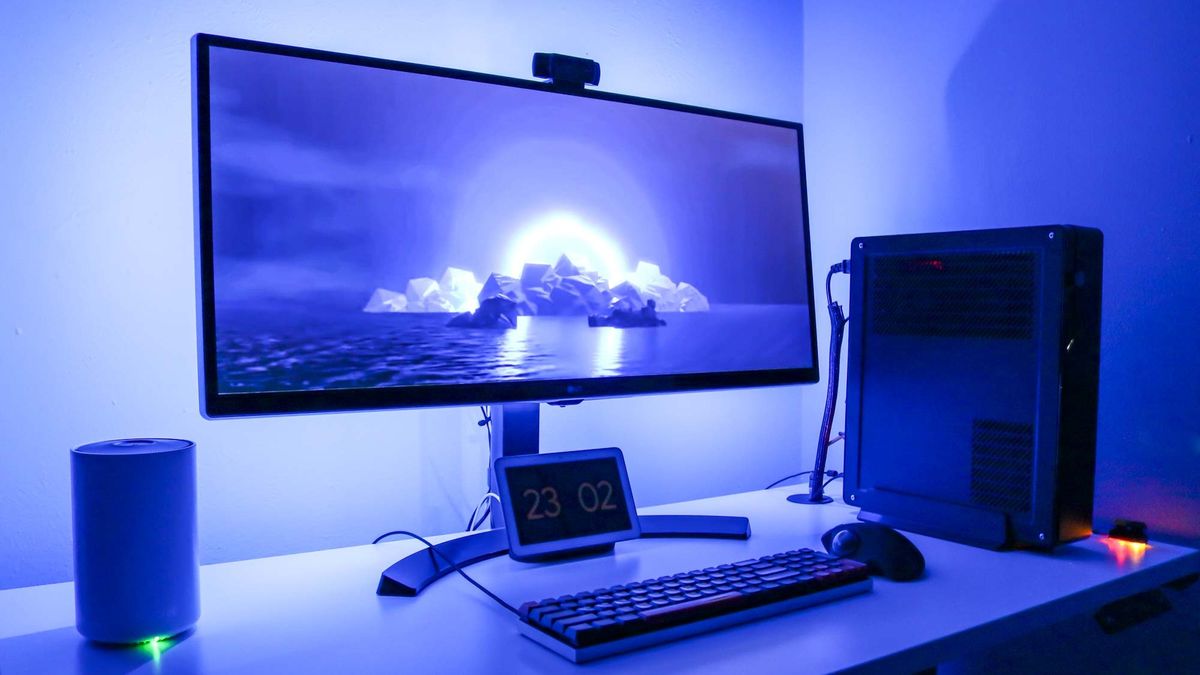
With Hue Sync, it’s quite easy to sync the content on your computer monitor or laptop with the best smart light bulbs. Whether you’ve installed regular light bulbs or even a light strip behind your monitor, you can create your own light show at home.
While there are cheaper options, one of the best things about Philips Hue Bulbs is the fact that you can sync them with what’s on your screen using free software. You might be wondering why you would want to do this at all: immersion is the main reason.
With the Philips Hue Sync app on your PC or Mac, you can sync your smart bulbs with the videos, games or music you’re currently watching, playing or listening to. So what is on your screen seems to flow into your room and you are completely immersed.
With Philips Hue lamps it is also possible to smart lights with your TV but you must have a computer connected to it or a Play HDMI Sync Box separately if you want to use one of the best streaming devices or a game console instead. For this reason, this guide will focus on syncing your smart bulbs with content on your PC or Mac using the free Hue Sync app.
Here’s how to set up everything on your PC and make it work. If you have a Mac, the process is essentially the same, although you’ll need to install the macOS version of the Hue Sync app instead.
Use Philips Hue Sync to sync your smart lights with your screen
- Create an entertainment area in the Philips Hue mobile app
- Add lights and adjust their placement
- Download and install the Hue Sync app on PC or Mac
- Configure light sync for video, games or music
- Start light synchronization
Read on to see detailed instructions for each step.
1. Create an entertainment space in the Philips Hue mobile app. Open the app on your Android smartphone or iPhone and go to the Settings section on the right side of the toolbar at the bottom of the app. Below the On this bridge section, you will find an option for: entertainment areastap it.

If you’ve set up Entertainment areas before, you’ll see them all listed here. If not, tap the plus button in the top right corner to create a new entertainment area.

The app will ask you “How will you use your entertainment space?” and gives you the following options: For my TV, To listen to music and For my monitor. Tap on For my monitor and name your entertainment area.

2. Add lamps and adjust their placement. Once you’ve named your entertainment area, it’s time to choose the lights you want to use with it. The app will show you a list of rooms and you must: choose which room your entertainment space is in along with which lights are part of it. (Note: Only lamps with color functionality are supported.)

Once you’ve chosen your lights, you can: adjust their position in your room and that is also possible adjust their height use the app. This step is especially important because where you place your lights determines how they sync with the content on your monitor or laptop.

3. Download and install the Hue Sync app on PC or Mac. To set things up on your PC or Mac, go to the Philips Hue Sync website (opens in new tab) and scroll down the page.

About a quarter of the way down the page, there’s a Hue Sync desktop app section where you can download the necessary software for PC or Mac. Click on either the Download for Mac OS or the Download for Windows buttons to download the software. Once the download is complete, install it on your system.

4. Configure light sync for video, games or music. When you open the app for the first time, it will search your network for your Hue Bridge. Once it’s found, you’ll need to: tap the button at the top of the box to connect your bridge to the Hue Sync app. From here you should: choose a nightlife area to use with your smart bulbs.

When the app starts, you can choose whether to sync your lights with Scenes, Spell, Music or Video. Among these options you can: choose the intensity with options for subtle, moderate, high or extreme, depending on your preference. There also is a switch that can be turned on to use audio for effect.

5. Start light sync. Once everything is configured and set up, just click the Start light sync button at the bottom of the app to start using Hue Sync. You can always adjust your sync settings if the lights change too fast or not fast enough. At the same time, you can also change the type of content the app syncs with when you switch from watching a video to playing a game or listening to music.

Find the best content to sync with your smart bulbs

There you have it. You now know how to create an entertainment space and use the Hue Sync desktop app on your PC or Mac. When it comes to getting the most out of Hue Sync, brighter videos or games with lots of colors usually work best, and I recommend enabling the “Use audio for effect” option as well.
Now that you know how to use Hue Sync, check out our other smart home guides, including nine things you never knew you could do with smart bulbs, how to set up a smart home routine with Google Assistant, how to set up an Alexa smart home routine, how to secure your smart home and even how to sell your smart home.
0 Comments